Creating a professional-quality video recording studio at home can be a great way to produce high-quality content for your online course. Here are some steps you can take to set up a video recording studio at home:
Choose a dedicated space
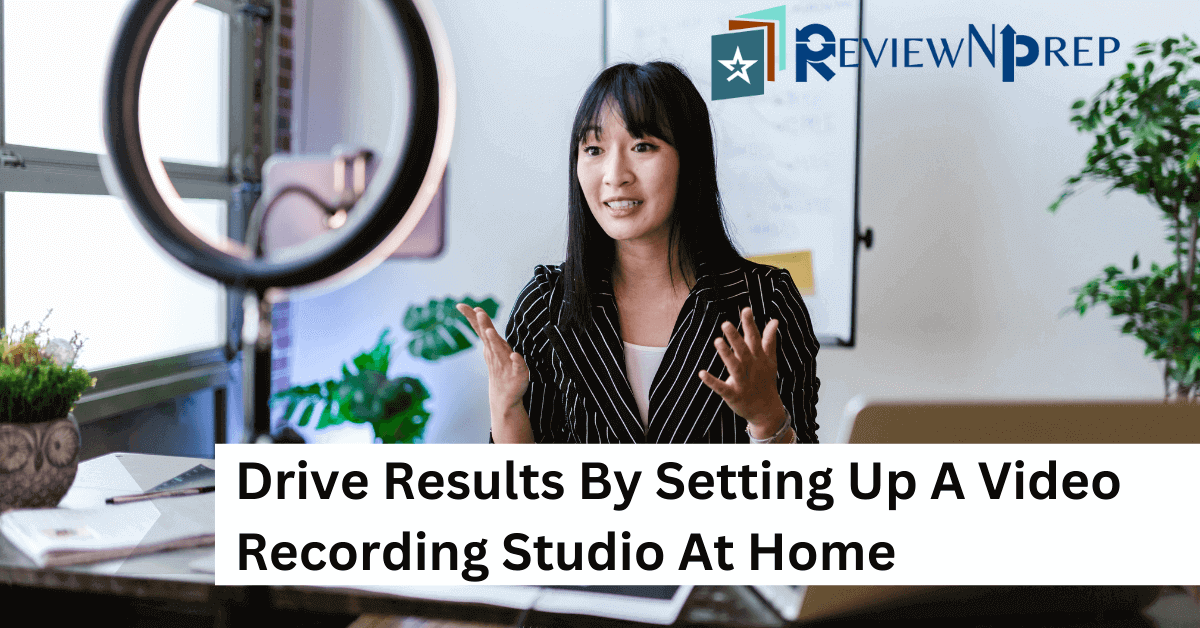
Choose a dedicated space in your home where you can set up your video recording studio. This can be a spare room, a corner of your living room, or even a closet. Make sure the space is well-lit and has minimal background noise.
Your recording studio should be set up in a quiet, well-ventilated area where you can work comfortably. Make sure to place your computer on a sturdy surface and place the microphone and camera near your mouth and eyes, respectively.
Invest in a good camera
A good camera is the most important piece of equipment you’ll need for your video recording studio. Look for a camera that can record in high-definition and has manual settings for adjusting focus, exposure, and white balance.
A good camera will allow you to capture high-quality images and videos with sharp resolution, accurate colors, and minimal noise. This will ensure that your content looks professional and is easy to view on various devices.
Additionally, a good camera is built to last and withstand the wear and tear of frequent use. This will ensure that your camera will be reliable and long-lasting, and that you won’t have to replace it frequently.
Get a tripod
A tripod will help to keep your camera steady and eliminate camera shake, which can cause your videos to look jittery or blurred. This is especially important if you’re shooting in low light conditions or using a long lens, as any movement will be amplified.
A tripod will help to keep your shots consistent, both in terms of composition and in terms of camera movement. This will make your videos look more professional and polished.
A tripod is essential if you plan to shoot time-lapse videos, as it will ensure that the camera remains in the same position throughout the recording process. A tripod is a cost-effective solution for creating stable and professional-looking videos. It is a relatively inexpensive piece of equipment, which can make a big difference in the quality of your videos.
Lighting
Good lighting can make a huge difference in the quality of your images and videos. Proper lighting will help to bring out the details, colors and texture of your subject and make your content look more professional.
Lighting can also play a big role in creating the mood and atmosphere of your content. Different lighting setups can be used to create different emotional reactions in the viewer, such as creating a sense of warmth or creating a spooky atmosphere.
Good lighting can help set the scene and create a sense of place. For example, if you’re filming a cooking show, a well-lit kitchen will help to create an inviting and professional atmosphere. Look for a softbox or umbrella lights that can be adjusted to produce a soft, even light on your face.
Invest in a good microphone
Investing in a good microphone is an important step in creating professional-sounding content. It will ensure that your audio is clear, free of background noise, and versatile enough to suit different types of content and recording scenarios.
A good microphone will have different polar patterns, which can give you more flexibility in your recording. This will allow you to capture audio from different directions, such as a directional microphone for interviews or an omnidirectional microphone for a podcast or live event.
Look for a microphone that can be plugged directly into your camera or computer. Remember to also consider your intended use, budget, and the type of content you will be creating to choose the best microphone for you.
Invest in a green screen
A green screen allows you to replace the background of your video with any digital image or video. This can give you more creative freedom and allow you to create more dynamic and visually interesting content.
A green screen is a cost-effective solution for creating videos with multiple locations or backgrounds. It eliminates the need for expensive equipment and travel costs associated with filming on location.
A green screen can give your videos a more polished and professional look. It can also be used to create special effects, such as weather effects, explosions, and other visual enhancements.
Edit your videos
Once you’ve recorded your video, you’ll need to edit it to make it look professional. You can use a video editing software like Adobe Premiere Pro or Final Cut Pro.
Editing videos for content creation can be a complex task, but with the right tools and techniques, it can be done effectively. Here are some tips for editing videos for content creation:
- Plan your edits: Before you start editing, it’s important to have a clear idea of what you want your final video to look like. Make a rough cut of the footage and plan out your edits, including where you will add transitions, effects, and music.
- Organize your footage: Keep your footage organized by labeling and grouping it according to the different scenes and shots. This will make it easier to find the footage you need when editing.
- Trim and cut: Use the trim and cut tools to remove any unnecessary footage, such as long pauses or mistakes. This will make your final video more polished and professional.
- Add transitions: Transitions are a great way to add visual interest and smooth out the transitions between different scenes and shots. Experiment with different types of transitions to find the ones that work best for your video.
- Add effects: Special effects, such as color correction and stabilization, can help to improve the overall look and feel of your video. Be careful not to overdo it, as too many effects can make your video look cluttered and unprofessional.
- Add music: Music can help to set the tone and create a sense of emotion in your video. Be sure to choose music that is appropriate for the content and tone of your video.
- Do a final review: Before exporting your final video, do a final review to make sure that everything looks and sounds the way you want it to. Look for any mistakes or areas that need to be improved, and make any necessary changes.
- Exporting: Once you have finished editing, export your video in the appropriate format for the platform you will be using to share it. Keep in mind the video size and resolution that the platform accepts.
Remember that effective video editing takes time and practice, so be patient with yourself and keep experimenting with different techniques and tools until you find the ones that work best for you.
Invest in a good computer
A good computer will have a fast processor, plenty of RAM, and a dedicated graphics card, which will allow you to work on larger and more complex projects without experiencing lag or crashes.
If you plan to take your computer on the go, consider investing in a laptop with a good battery life and a lightweight design.
As technology advances, the requirements for content creation software will increase, so buying a computer that is powerful enough to handle the latest software and techniques will help you stay up-to-date and prepared for the future.
Conclusion
By following these steps, you can create a professional-quality video recording studio at home. Remember to test your equipment and settings before recording, and experiment with different lighting, camera angles, and background options to find the perfect setup for your videos.